Host Your Apps with AWS Amplify Console from the AWS Amplify CLI
- March 6, 2020


|
Have you tried out AWS Amplify and AWS Amplify Console yet? In my opinion, they provide one of the fastest ways to get a new web application from idea to prototype on AWS. So what are they? AWS Amplify is an opinionated framework for building modern applications, with a toolchain for easily adding services like authentication (via Amazon Cognito) or storage (via Amazon Simple Storage Service (S3)) or GraphQL APIs, all via a command-line interface. AWS Amplify Console makes continuous deployment and hosting for your modern web apps easy. It supports hosting the frontend and backend assets for single page app (SPA) frameworks including React, Angular, Vue.js, Ionic, and Ember. It also supports static site generators like Gatsby, Eleventy, Hugo, VuePress, and Jekyll.
With today’s launch, hosting options available from the AWS Amplify CLI now include Amplify Console in addition to S3 and Amazon CloudFront. By using Amplify Console, you can take advantage of features like continuous deployment, instant cache invalidation, custom redirects, and simple configuration of custom domains.
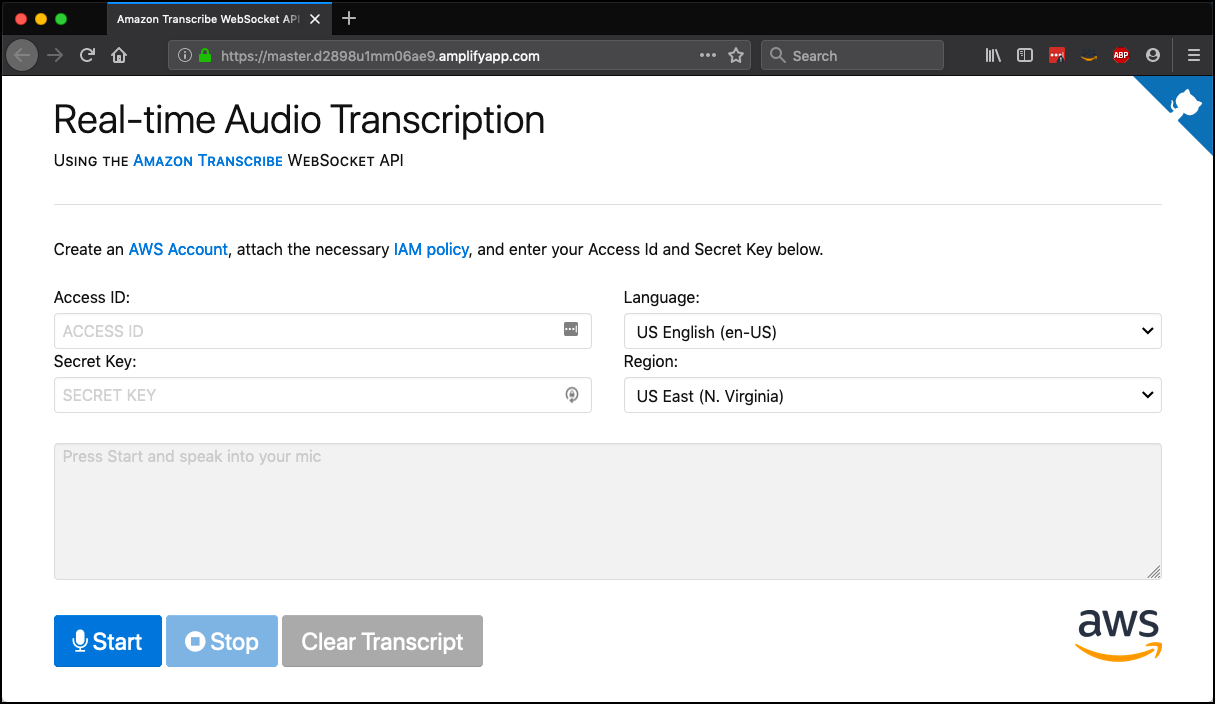
Let’s take a look at a quick example. We’ll be deploying a static site demo of Amazon Transcribe. I’ve already got the AWS Command Line Interface (CLI) installed, as well as the AWS Amplify CLI. I’ve forked and then cloned the sample code to my local machine. In the following gif, you can see the initialization process for an AWS Amplify app. (I sped things up a little for the gif. It might take a few seconds for your app to be created.)
Now that I’ve got my app initialized, I can add additional services. Let’s add some hosting via AWS Amplify Console. After choosing Amplify Console for hosting, I can pick manual deployment or continuous deployment using a git-based workflow.
First, I’m going to set up continuous deployment so that changes to our git repo will trigger a build and deploy.

The workflow for configuring continuous deployment requires a quick browser session. First, I select our git provider. The forked repo is on GitHub, so I need to authorize Amplify Console to use my GitHub account.

Once a provider is authorized, I choose the repo and branch to watch for changes.

AWS Amplify Console auto-detected the correct build settings, based on the contents of package.json.

Once I’ve confirmed the settings, the initial build and deploy will start. Then any changes to the selected git branch will result in additional builds and deploys. Now I need to finish the workflow in the CLI, and I the need the ARN of the new Amplify Console app for that. In the browser, under App Settings and then General, I copy the ARN and then paste it into my terminal, and check the status.

A quick check of the URL in my browser confirms that the app has been successfully deployed.
Manual deploys with Amplify Console also provide a bunch of useful features. The CLI can now manage front-end environments, making it easy to add a test or dev environment. It’s also easy to add URL redirects and rewrites, or add a username/password via HTTP Basic Auth.
Configuring manual deploys is straightforward. Just set your environment name. When it’s time to deploy, run amplify publishand the build scripts defined during the initialization of the project will be run. The generated artifact will then be uploaded automatically.
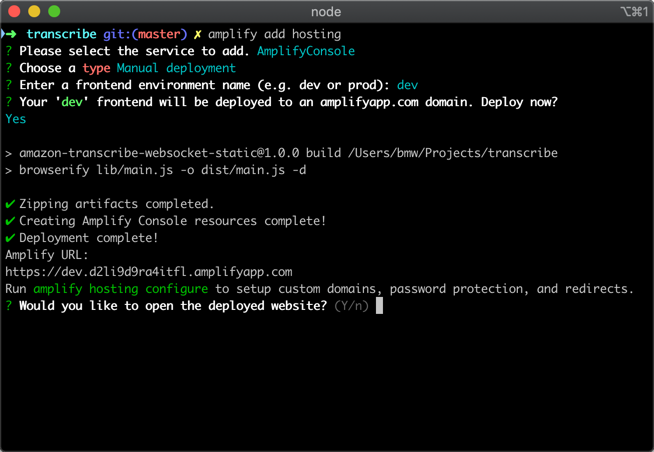
With manual deployments, you can set up multiple frontend environments (e.g. dev and prod) directly from the CLI. To create a new dev environment, run amplify env add (name it dev) and amplify publish. This will create a second frontend environment in Amplify Console. To view all your frontend and backend environments, run amplify console from the CLI to open your Amplify Console app.
Ever since using AWS Amplify Console for the first time a few weeks ago, it has become my go-to way to deploy applications, especially static sites. I’m excited to see the simplicity of hosting with AWS Amplify Console extended to the Amplify CLI, and I hope you are too. Happy building!